
Self Service Teams Portal – Start VM PDF
Intro-
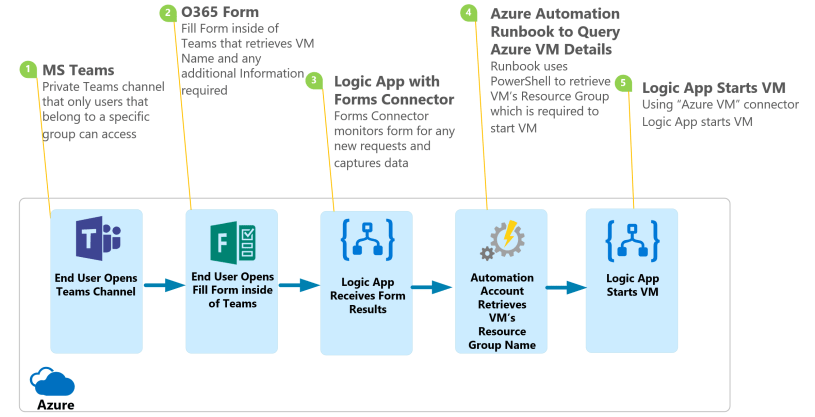
Using MS Teams, Forms, Azure Logic App and Azure Automaton you can create a Self Service Portal inside of Teams for users to perform a variety of automation tasks such as “Start Azure VM”. This portal becomes very useful since you can add / modify with very little development work and not elevate permissions inside of Azure. Similar solutions are offered by ServiceNow, but unless you have access to create Service Catalog Items and Orchestration this makes a great alternative and very simple to create and maintain.
Prerequisites–
- Azure Service Account with O365 licensing
- Azure Automation Account is setup and module AzureRM.Compute added
- Forms App added to MS Teams
How To-
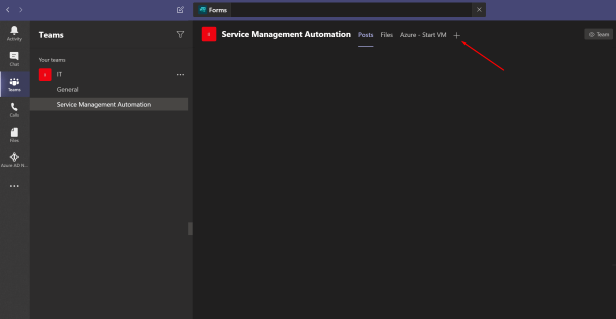
Add MS Forms connection to your Teams Channel you want the Form to be available. In this example I have created a Teams Channel called “Service Management Automation” where I place all my automated forms accessible only to select users.
Select “Add a Tab”
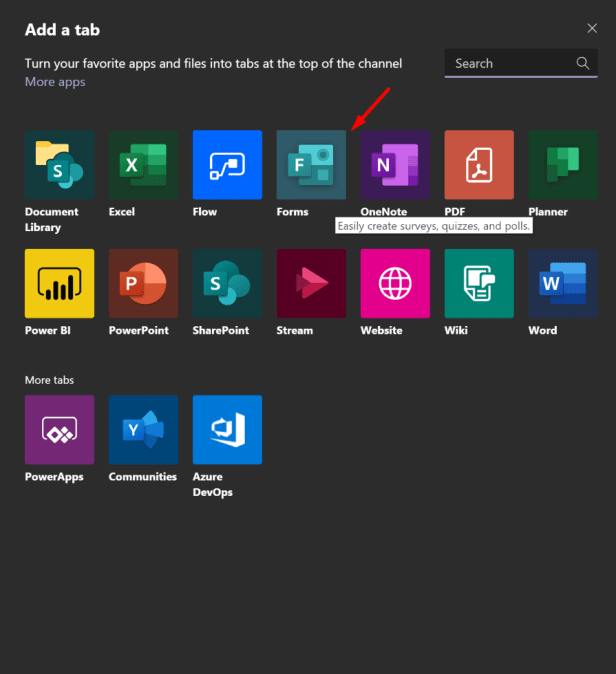
Select “Forms”
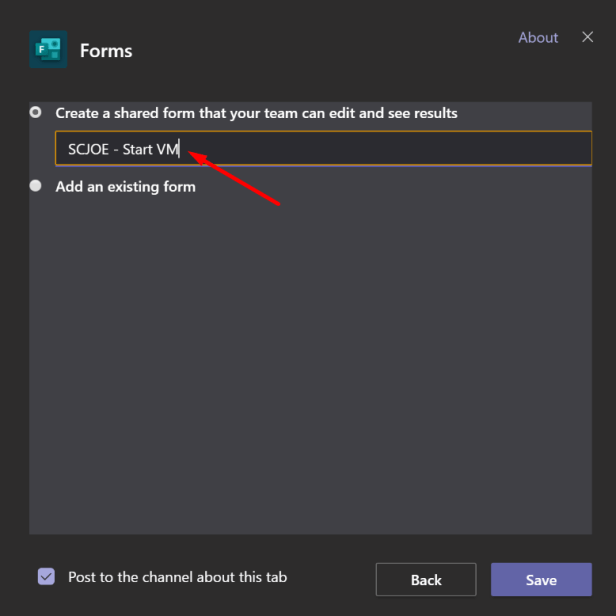
Select “Create a shared form that your team can edit and see results” and name it how you want it to appear in Teams and select “Save”
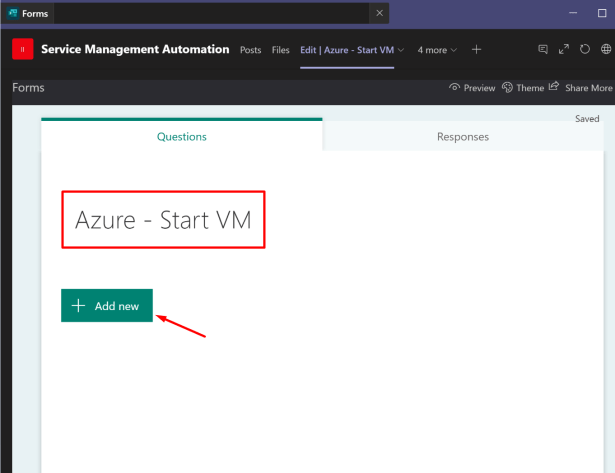
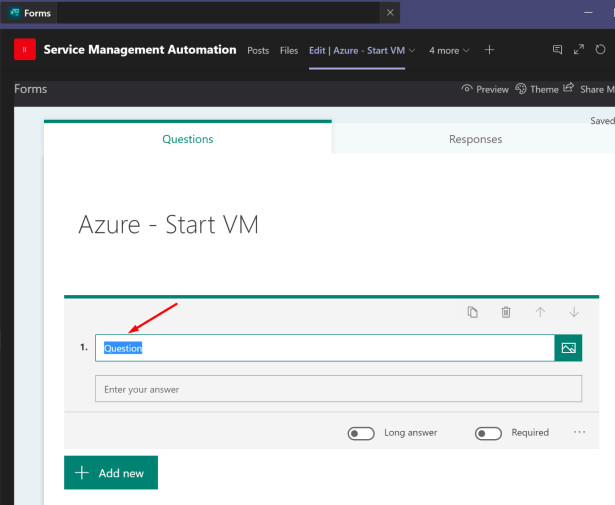
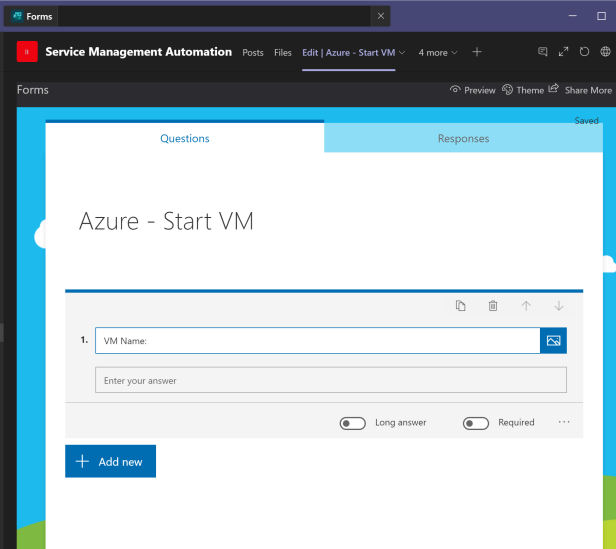
Start customizing the form, you can add multiple questions and themes. Another great feature is language which you can easily toggle when filling the form out. This is a fantastic feature if your audience is in multiple countries.
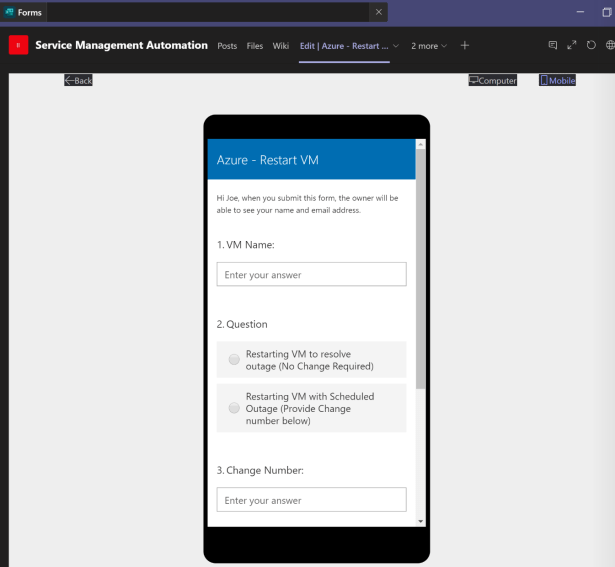
You can even preview how the form will look on a mobile device
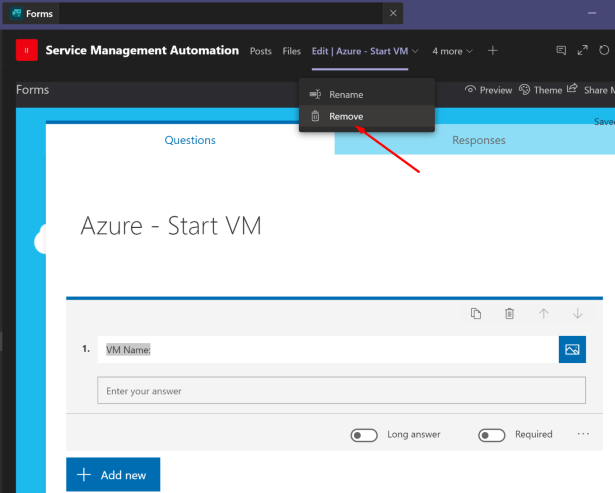
After you are done customizing, lets remove the edit view of the form by selecting “Remove” from the drop down
Now add the Form in its “Fill” view by selecting “Add a Tab” and selecting “Forms” then this time select “Add an existing form” and select the form you just created

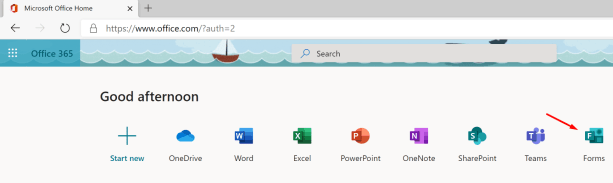
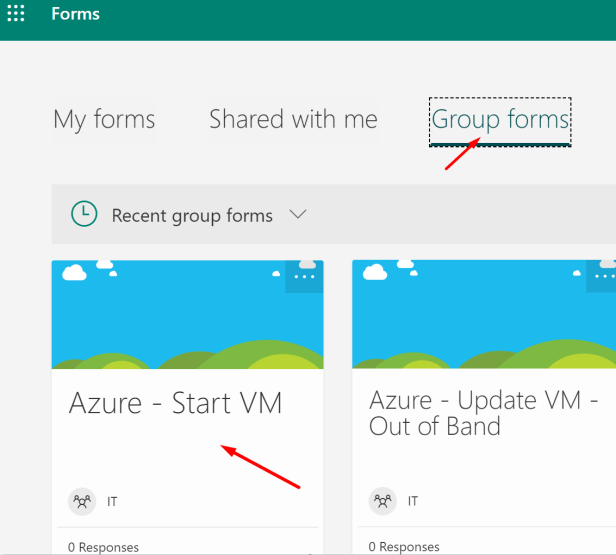
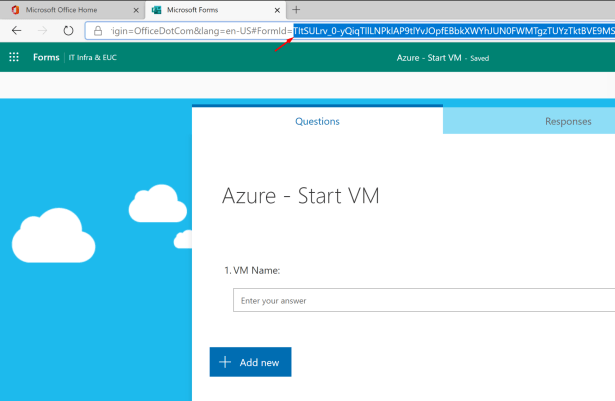
Now that your Form is available in teams, we need to retrieve the “Form ID” that will be required from office.com. Log into office.com, select Forms, select Group Forms, and your Forms will be available to select. After Selecting it you need to copy all of the text after “Formid=” and paste it to notepad. We will need this later on*
Now log into the Azure Portal and create a Logic App

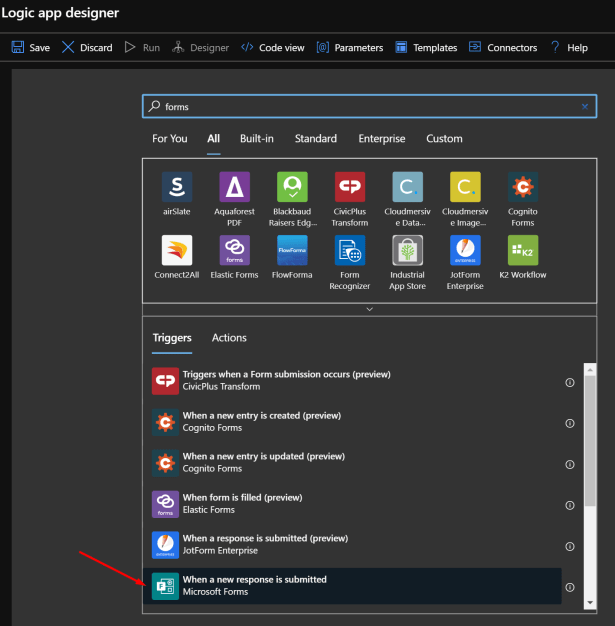
Now we will need to create a trigger for the Logic App, search for “forms” and select “When a new response is submitted” from “Microsoft Forms” NOT Forms PRO
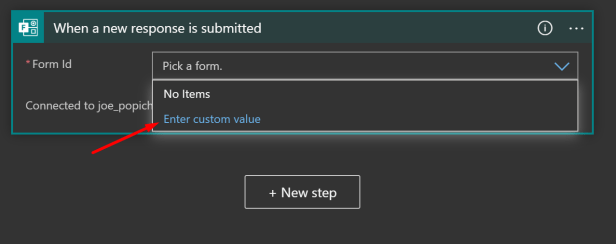
Select “Enter custom value” and input the “Form id” from the text you copied from the url from office.com
Select “New Step” and Select “Get response details” from Forms and input the “Form id” again and for “Response ID” select “List of response notifications ID”


Now we are going to switch gears. We will use Azure Automation to query the VM’s resource group which is required when performing any Azure VM action inside of Logic Apps. Alternatively you can ask the end user to input this into the form, but that would be counter productive and if you can automate it DO IT.
Save your Logic App and navigate to Azure Automation where you have setup an Automation Account and loaded the module “AzureRM.Compute”. Create a runbook and select “PowerShell” as the runbook type

We will be passing the VM name as a parameter from Logic App and using “Get-AzureRMVM” to retrieve the Resource Group name. The rest of the script is standard connection for running a Azure Automation runbook.

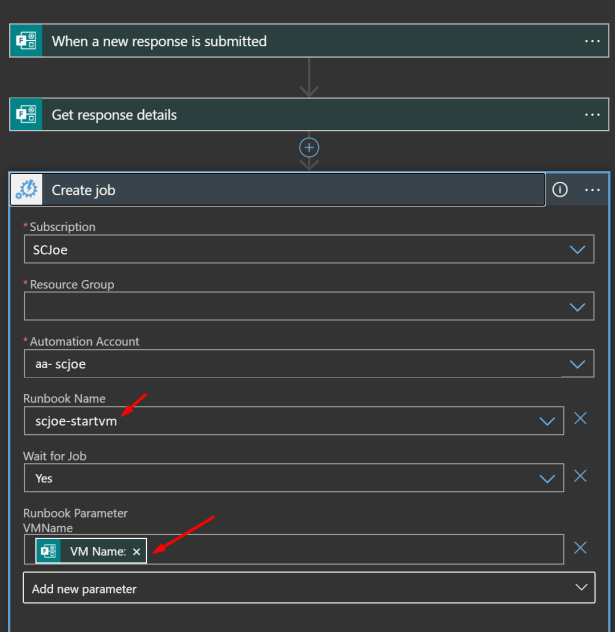
Save and Publish. You can run a test to make sure you are prompted for the VMName. Now lets go back to your Logic App and add the next step “Create Job” from Azure Automation. Select the Automation Account you just used to create the Runbook and Runbook Name. Select “Yes” for Wait for Job, and the mandatory Runbook Parameter “VM Name” will appear. Select “VM Name:” from your Form
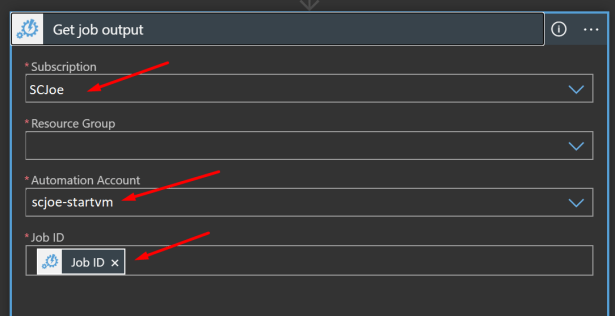
Next Step to create is “Get Job output” from Azure Automation. Select you Automation Account again and under Job ID select “Job ID” from you previous step
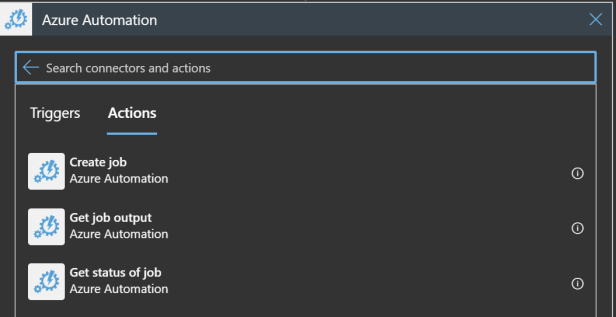
Next Step we will be utilizing the “Azure VM” connector. This is new and previously we would perform this step in Azure Automation, but for this demo I want to use this is connector. Select “Start virtual machine”. Use “Content” from “Create Job” and “VM Name” from your Form response

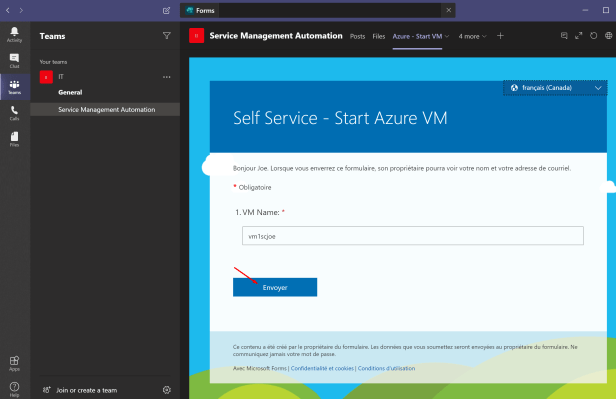
Now Envoyer / Submit!
That’s is it, with this 6 step process you can have limited access users start their own VM’s by access to a Teams channel. I have my own Private Teams Admin channel where I provision VM’s and migrate them between regions using the same tools we just implemented. Sky is the limit!
-LL&P
Popich36

This is brilliant. Thanks for this – works really well!